Pin Up Girls: Lilly coasters & gloopy glitter
September 21, 2012
Tessa:
Like a good number of college women, I often find myself browsing the Lilly Pulitzer website, drooling over the bright colors and bold prints.
Also like a good number of college women, I find myself too broke to actually buy much.
Yet I still want to live a colorful life, but a planner and coffee mug just don’t cut it.
Since I’m not talented enough to hand-paint imitation Lilly, I decided to see what else Pinterest had to offer. I came across a blog called “Sweet, Pink and Preppy” that featured coasters made from tile pasted with pages from an old planner.
With little more than a couple of (free) Lilly catalogs and some cheap tile from a home improvement store, it was a simple process.
Using a scrapbook paper cutter to avoid crooked edges, I trimmed the patterned catalog pages down to size. Then, with a sponge brush, I coated the tile with Modge Podge, lined up the paper and smoothed it down.
Making sure the paper went on smoothly proved to be the biggest challenge. Wrinkles, crinkles and air bubbles would ruin an otherwise cute project.
To my dismay, there were wrinkles, and trying to smooth them away made it worse.
Well, crap.
Since peeling off the paper would be a mess and all of the coasters were bubbly, I just decided to coat them with a final coat of Modge Podge and see what happened.
To my surprise, the bubbles all but went away with drying time.
The coasters look great and were simple, but I’ve found a problem: Modge Podge doesn’t make things waterproof. Cold drinks sweat, hence the reason for a coaster. Paper and water don’t go well together.
My beautiful coasters have only been used once and will remain that way until I can find something to make them last. I’ll report back when that happens.
Caitlin:
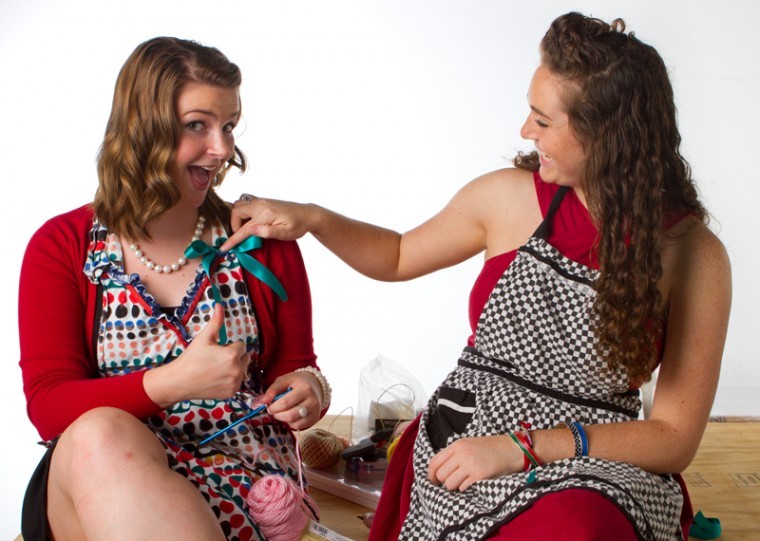
My project this week was inspired by the fact that I just found out I’m going to be an aunt! We don’t know the gender, but I know it’s a girl. Just call it aunt’s intuition.
I painted an 8” x 8” canvas bright turquoise, (I got a four-pack on sale at Walmart. Score!), let it dry, then began to formulate my plan for getting a giant, glittery “C” on it.
And that’s where I jumped the gun.
I know, I should have checked with Pinterest before I acted. But, y’all, I just KNOW it’s a girl. And I got way too excited.
So I just used the first glue I could find, made a wax paper cutout template, and poured glitter everywhere.
My rubber cement/wax paper combo worked OK. But when I dumped the excess glitter in the trash can, there wasn’t much left on the canvas.
Insert mistake number two.
I thought I’d go right ahead and add some more glue and glitter.
And smudge the whole thing.
My roommate suggested I use hairspray to seal the glitter. Genius.
I took my project outside and spent 20 minutes gluing, glittering and hair-spraying. When I, and the “C,” were completely covered, I hot glued a pink ribbon to a teal one, tied them in a bow and glued them to the canvas.
Boom, done.
Had I checked with Pinterest, I would have learned that spray adhesive is the way to go, and there’s a such thing as glitter sealant. What?
Oh well. I love my glittery “C,” and so did the mommy-to-be, so I guess that’s all that matters in the long run.
Now I just have to wait eight months to meet my precious niece!
…or nephew.







![Megan Inman of Tennessee cries after embracing Drag performer and transgender advocate Jasmine St. James at the 9th Annual WKU Housing and Residence Life Drag Show at Knicely Conference Center on April 4, 2024. “[The community] was so warm and welcoming when I came out, if it wasn’t for the queens I wouldn’t be here,” Inman said.](https://wkuherald.com/wp-content/uploads/2024/04/smith_von_drag_3-600x419.jpg)

