How to make your own slime: A step-by-step guide
March 8, 2020
You have probably seen slime videos around social media. Videos of people playing with various types of slime or “floam” in various colors. Some are more elaborate than others, resembling objects or food, while others are more plain. It has been called “satisfying” and is sometimes used as ASMR, or “autonomous sensory meridian response.” Whether or not you find it relaxing, it can be pretty fun to play with.
But how does one make the slime that’s been sweeping social media? I took it upon myself to find out.
It started with a simple Google search: How to make slime. But I got thousands of results and many different “recipes.” I chose two: Regular slime and floam slime.

Regular slime
Ingredients: One bottle of Elmer’s white glue (7.6 oz), food coloring, contact lens solution (make sure the ingredients contain boric acid or sodium borate), baking soda, mixing bowl and a spoon.
The first step is to empty the entire bottle of glue into your mixing bowl. Once you’ve emptied the bottle, add 1 tablespoon of baking soda and mix thoroughly.
Next up is food coloring. I chose blue and added about eight drops into the mixture. You can add more or less, depending on your desired color, or add multiple colors to create a custom shade. Mix until you no longer see any white streaks.
Then, add 1 tablespoon of the contact lens solution and stir until the mixture becomes thick.
Now comes the fun part: Knead the mixture with your hands. If it feels too sticky, add more contact lens solution.
Once the consistency is to your liking, you’re finished!
I kept mine plain, but you could add in some glitter, confetti, or anything else for a little extra flair.
“Floam”/Crunchy slime
Ingredients: One bottle of Elmer’s glitter glue, contact lens solution, baking soda, foam beads, mixing bowl and a spoon.
This recipe is pretty similar to the first one, but I found that the consistency of the slime came out a little more firm.
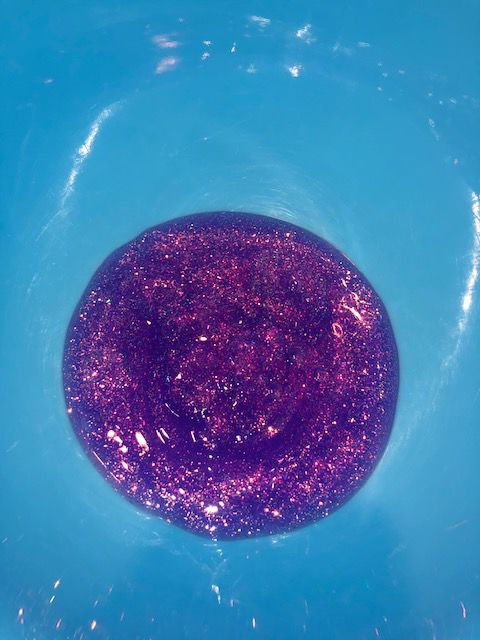
First, empty the bottle of glitter glue into your mixing bowl. I chose purple glitter glue, but there are a variety of colors out there. You could even do this with metallic or glow in the dark glue.
Next, add ½ teaspoon of baking soda and mix thoroughly. Once mixed, add a ½ tablespoon of contact lens solution, mix well, and then add another ½ tablespoon.
Start kneading your slime. According to this particular recipe, it’s normal for your slime to be very sticky at this point.
Knead for a few minutes and if you find that the slime is still too sticky, add some more contact lens solution. When you’re happy with it, put your slime back in the bowl.
Now take your foam beads (I found mine at Michael’s craft store) and mix them in slowly. (The key word is slowly: They fly out of the packaging pretty fast and make a mess. I found that out the hard way.)
After mixing in the foam beads, take your slime out of the bowl and add more if desired. The more you add, the more “crunchy” it gets and it will be closer to a traditional floam. It just depends on your preference.
The end result
When you’re finished, store your slime in an airtight plastic bag, container or glass jar.
Making the slime was much simpler than I expected, and it only took me about an hour. This is definitely a fun activity to kill some time. Remember, you can pretty much customize some parts of these recipes according to your taste. Don’t be afraid to get creative and make it your own!
Features reporter Kelley Holland can be reached at 270-745-6291 and [email protected].